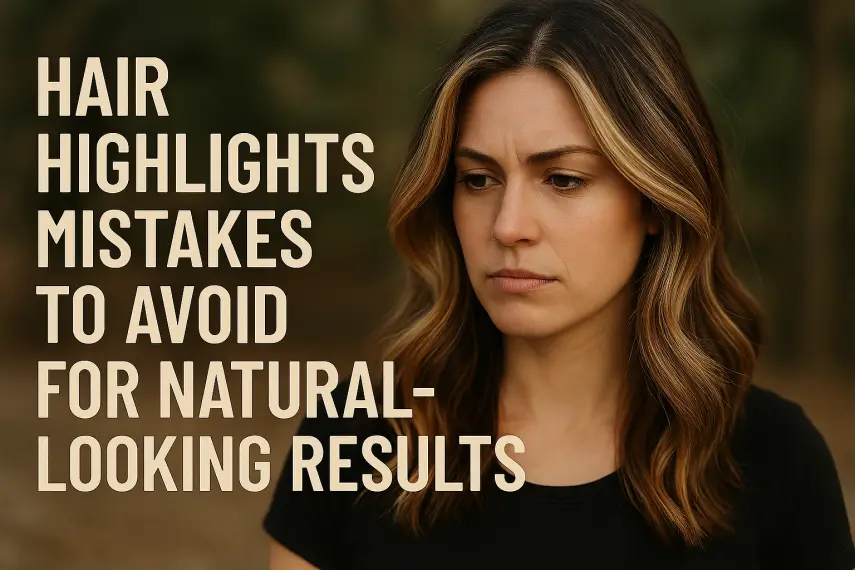
Hair Highlights Mistakes to Avoid for Natural-Looking Results
📑 Contents
Achieving natural-looking hair highlights is a goal for many, but even the smallest mistake can make your hair look artificial or patchy. Understanding the most common hair highlights mistakes to avoid for natural-looking results is key to flawless, sun-kissed hair, whether you go to a salon or do it yourself at home.
Understanding the Basics of Hair Highlights
Before diving into common mistakes, it's important to understand what hair highlights are and how they work. Highlights involve lightening sections of hair to create dimension, depth, and visual interest. The aim is often to mimic the subtle color variations naturally found in hair exposed to the sun.
Types of Hair Highlights
| Highlight Type | Description | Best For |
|---|---|---|
| Foil Highlights | Sections of hair wrapped in foil with lightener applied | Precise, dramatic contrast |
| Balayage | Hand-painted highlights for a soft, blended look | Natural, sun-kissed effect |
| Babylights | Very fine, subtle highlights | Delicate, natural-looking results |
| Chunky Highlights | Thicker, more noticeable streaks | Bold, statement styles |
Common Hair Highlights Mistakes
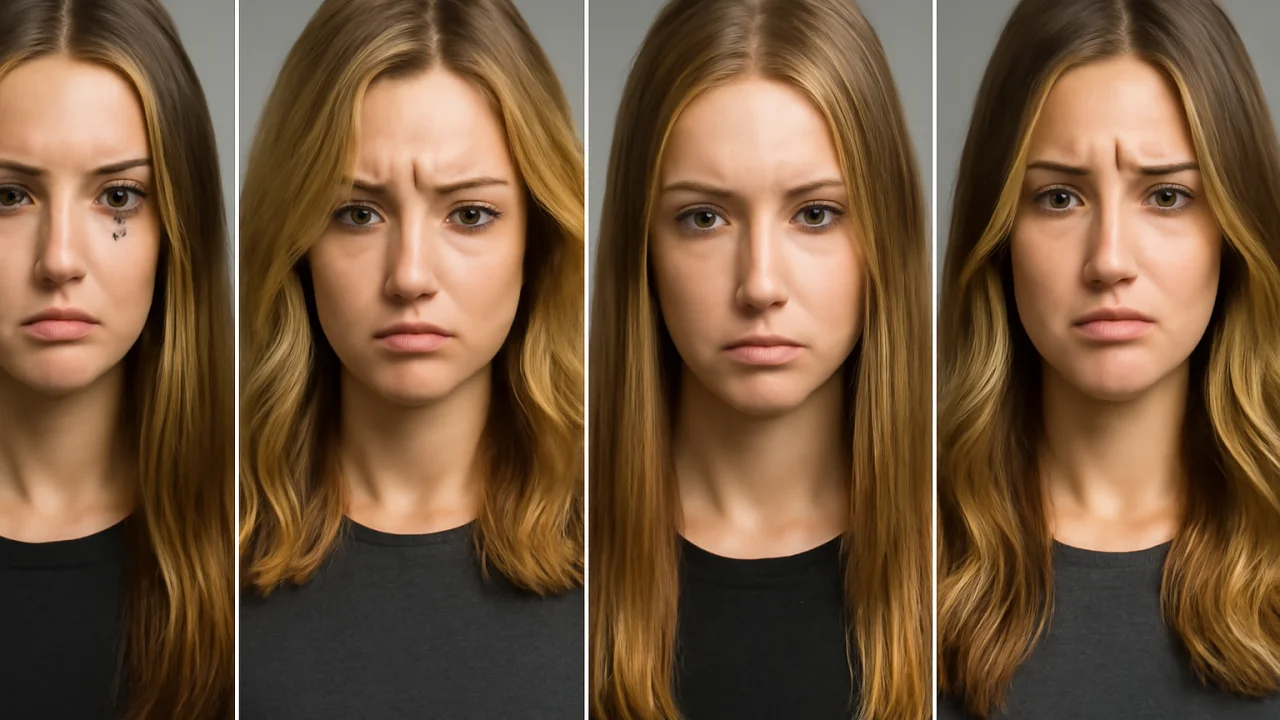
Even with professional products, certain pitfalls can lead to unnatural results. Here are the most frequent mistakes people make when getting hair highlights:
1. Choosing the Wrong Shade
- Going too light or too dark compared to your natural hair color can look harsh.
- Ignoring your skin undertone can create an unflattering contrast.
Always select a highlight shade no more than two to three levels lighter than your base color for the most natural effect.
2. Over-Highlighting
- Adding too many highlights can result in an overall lighter look, losing dimension.
- Heavy highlights can appear streaky or "striped."
Natural highlights should be well-spaced and strategically placed for depth.
3. Placing Highlights Incorrectly
- Highlights that start too close to the scalp can look unnatural.
- Uniform placement without variation lacks realism.
Professionals often use a mix of thin and slightly thicker highlights, starting slightly away from the roots for a grown-in, sunlit effect.
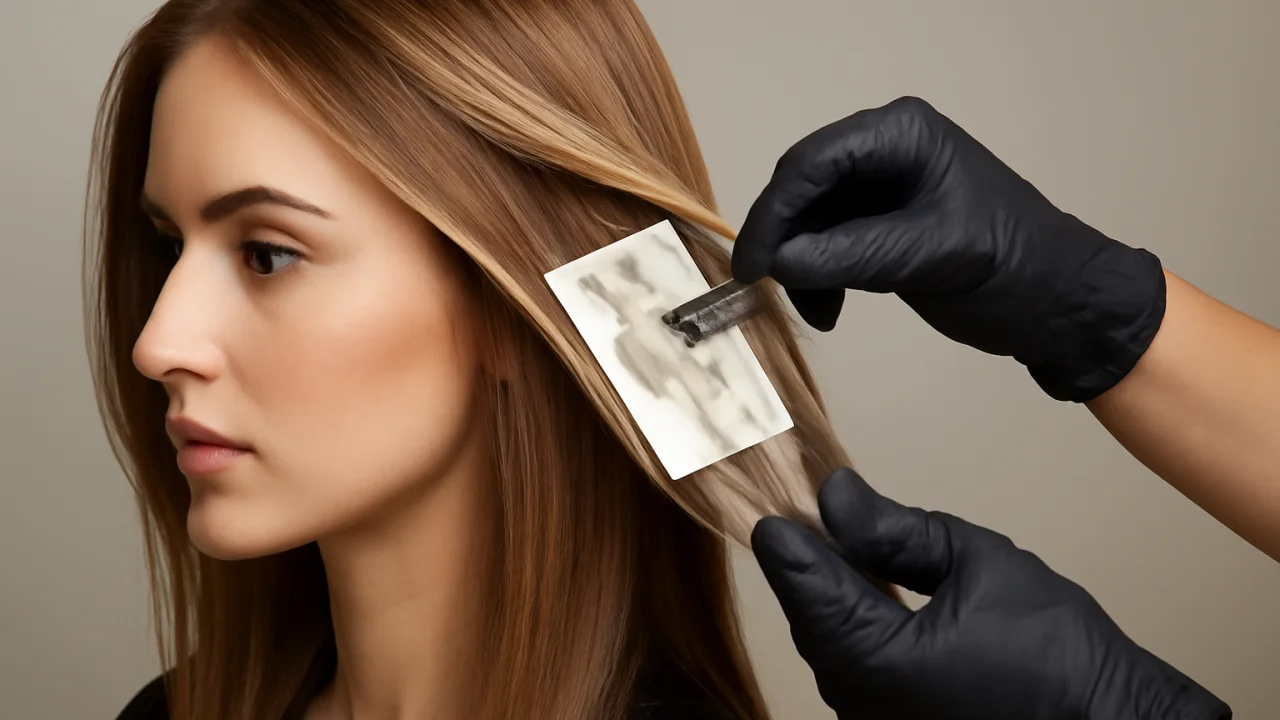
4. Skipping Toner
- Failing to tone highlights can leave them brassy or yellow.
- Toner helps blend the highlights with your base shade.
Using a toner after bleaching is crucial to achieving the right tone and a natural finish.
5. Not Considering Hair Health
- Highlighting overly damaged or fragile hair can worsen breakage and uneven color.
- Skipping deep conditioning treatments can lead to dry, dull highlights.
Healthy hair absorbs color more evenly and reflects light better, enhancing the natural look of highlights.
Professional vs. DIY Highlights: Key Differences
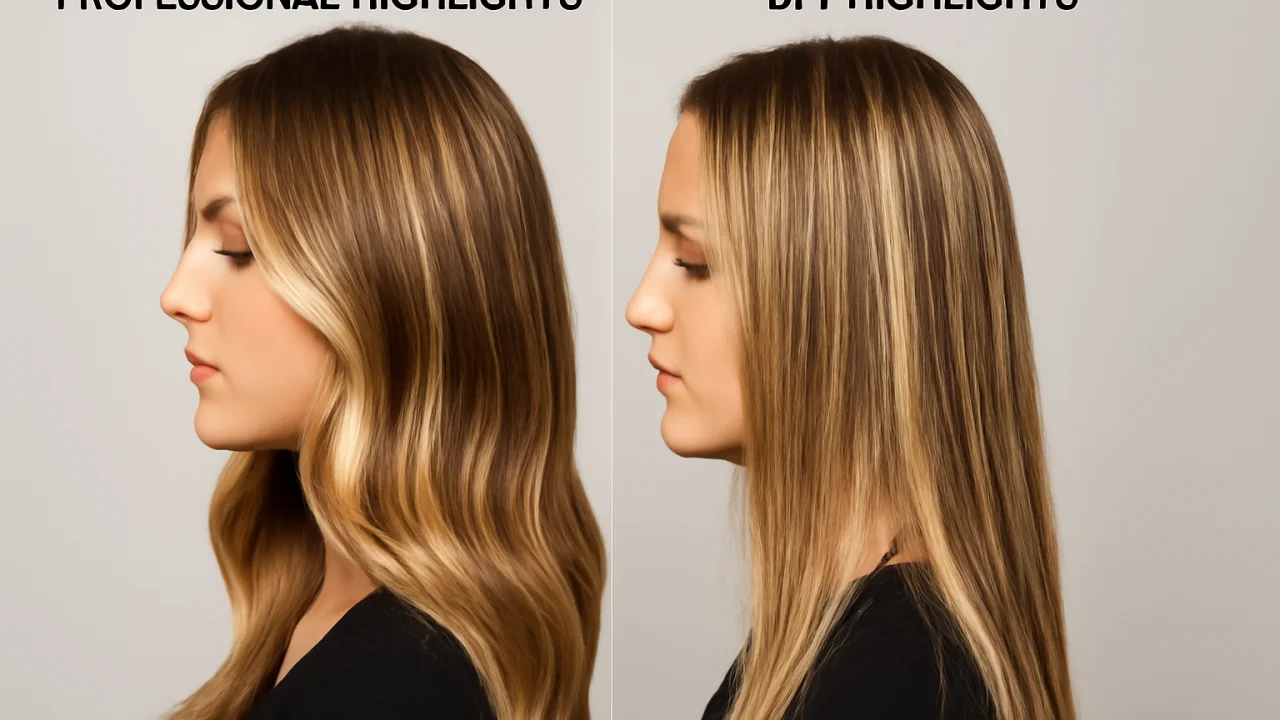
| Aspect | Professional Highlights | DIY Highlights |
|---|---|---|
| Application | Precise, customized placement | Can be uneven or patchy |
| Product Quality | Salon-grade color and tools | Variable, often box kits |
| Cost | Higher upfront cost | More affordable |
| Risk of Mistakes | Lower, with experienced colorist | Higher, especially for beginners |
| Result Longevity | Longer-lasting, low maintenance | May fade or require correction |
Tips for Natural-Looking Hair Highlights
- Consult a professional colorist for personalized advice.
- Bring inspiration photos to share your vision.
- Request a blend of highlight thicknesses for a multidimensional effect.
- Opt for balayage or babylights for subtlety.
- Maintain hair health with regular conditioning treatments.
- Use color-safe shampoos and avoid excessive heat styling.
Highlight Placement Guide
| Face Shape | Recommended Highlight Placement |
|---|---|
| Oval | Blend highlights throughout for balanced dimension |
| Round | Focus highlights around the crown and ends to elongate face |
| Square | Soften jawline with highlights around the temples and lower layers |
| Heart | Highlight below cheekbones and near the chin for balance |
FAQ: Hair Highlights Mistakes to Avoid for Natural-Looking Results
- 1. How can I choose the right shade for my highlights?
Stay within two to three shades of your natural hair color and consider your skin undertone for the most flattering and natural results. - 2. What causes highlights to look brassy?
Brassiness usually results from skipping toner or using the wrong toner. Hard water and sun exposure can also exacerbate brass tones. - 3. How often should I refresh my highlights?
Most people refresh highlights every 8-12 weeks, depending on hair growth and maintenance routine. - 4. Can I fix uneven highlights at home?
It’s best to consult a professional for color correction. Attempting to fix uneven highlights at home can worsen the problem. - 5. Are there techniques for subtle highlights?
Yes, balayage and babylights are popular for creating soft, natural-looking highlights. - 6. What products help maintain highlighted hair?
Use sulfate-free, color-safe shampoos and conditioners, and incorporate a purple shampoo if you have blonde highlights. - 7. How do I prevent highlights from damaging my hair?
Deep conditioning treatments and minimizing heat styling can help maintain hair health and minimize damage from highlighting. - 8. Should highlights start at the roots?
For the most natural look, highlights should generally start slightly away from the roots, mimicking how the sun naturally lightens hair.
Conclusion
Avoiding common hair highlights mistakes is essential for achieving natural-looking, beautiful results. From selecting the right shade to proper maintenance, careful attention to detail makes all the difference. If you’re unsure about any step, seek a consultation with a professional colorist to ensure your highlights enhance your hair in the most flattering way.
Ready to transform your look? Visit isayinfo.com for more expert hair advice and inspiration.